 New Zealand
 USA
USA Canada
 Australia
 UK
UK Europe
 Japan
Japan Singapore
 UAE
UAE India
India

New Launch
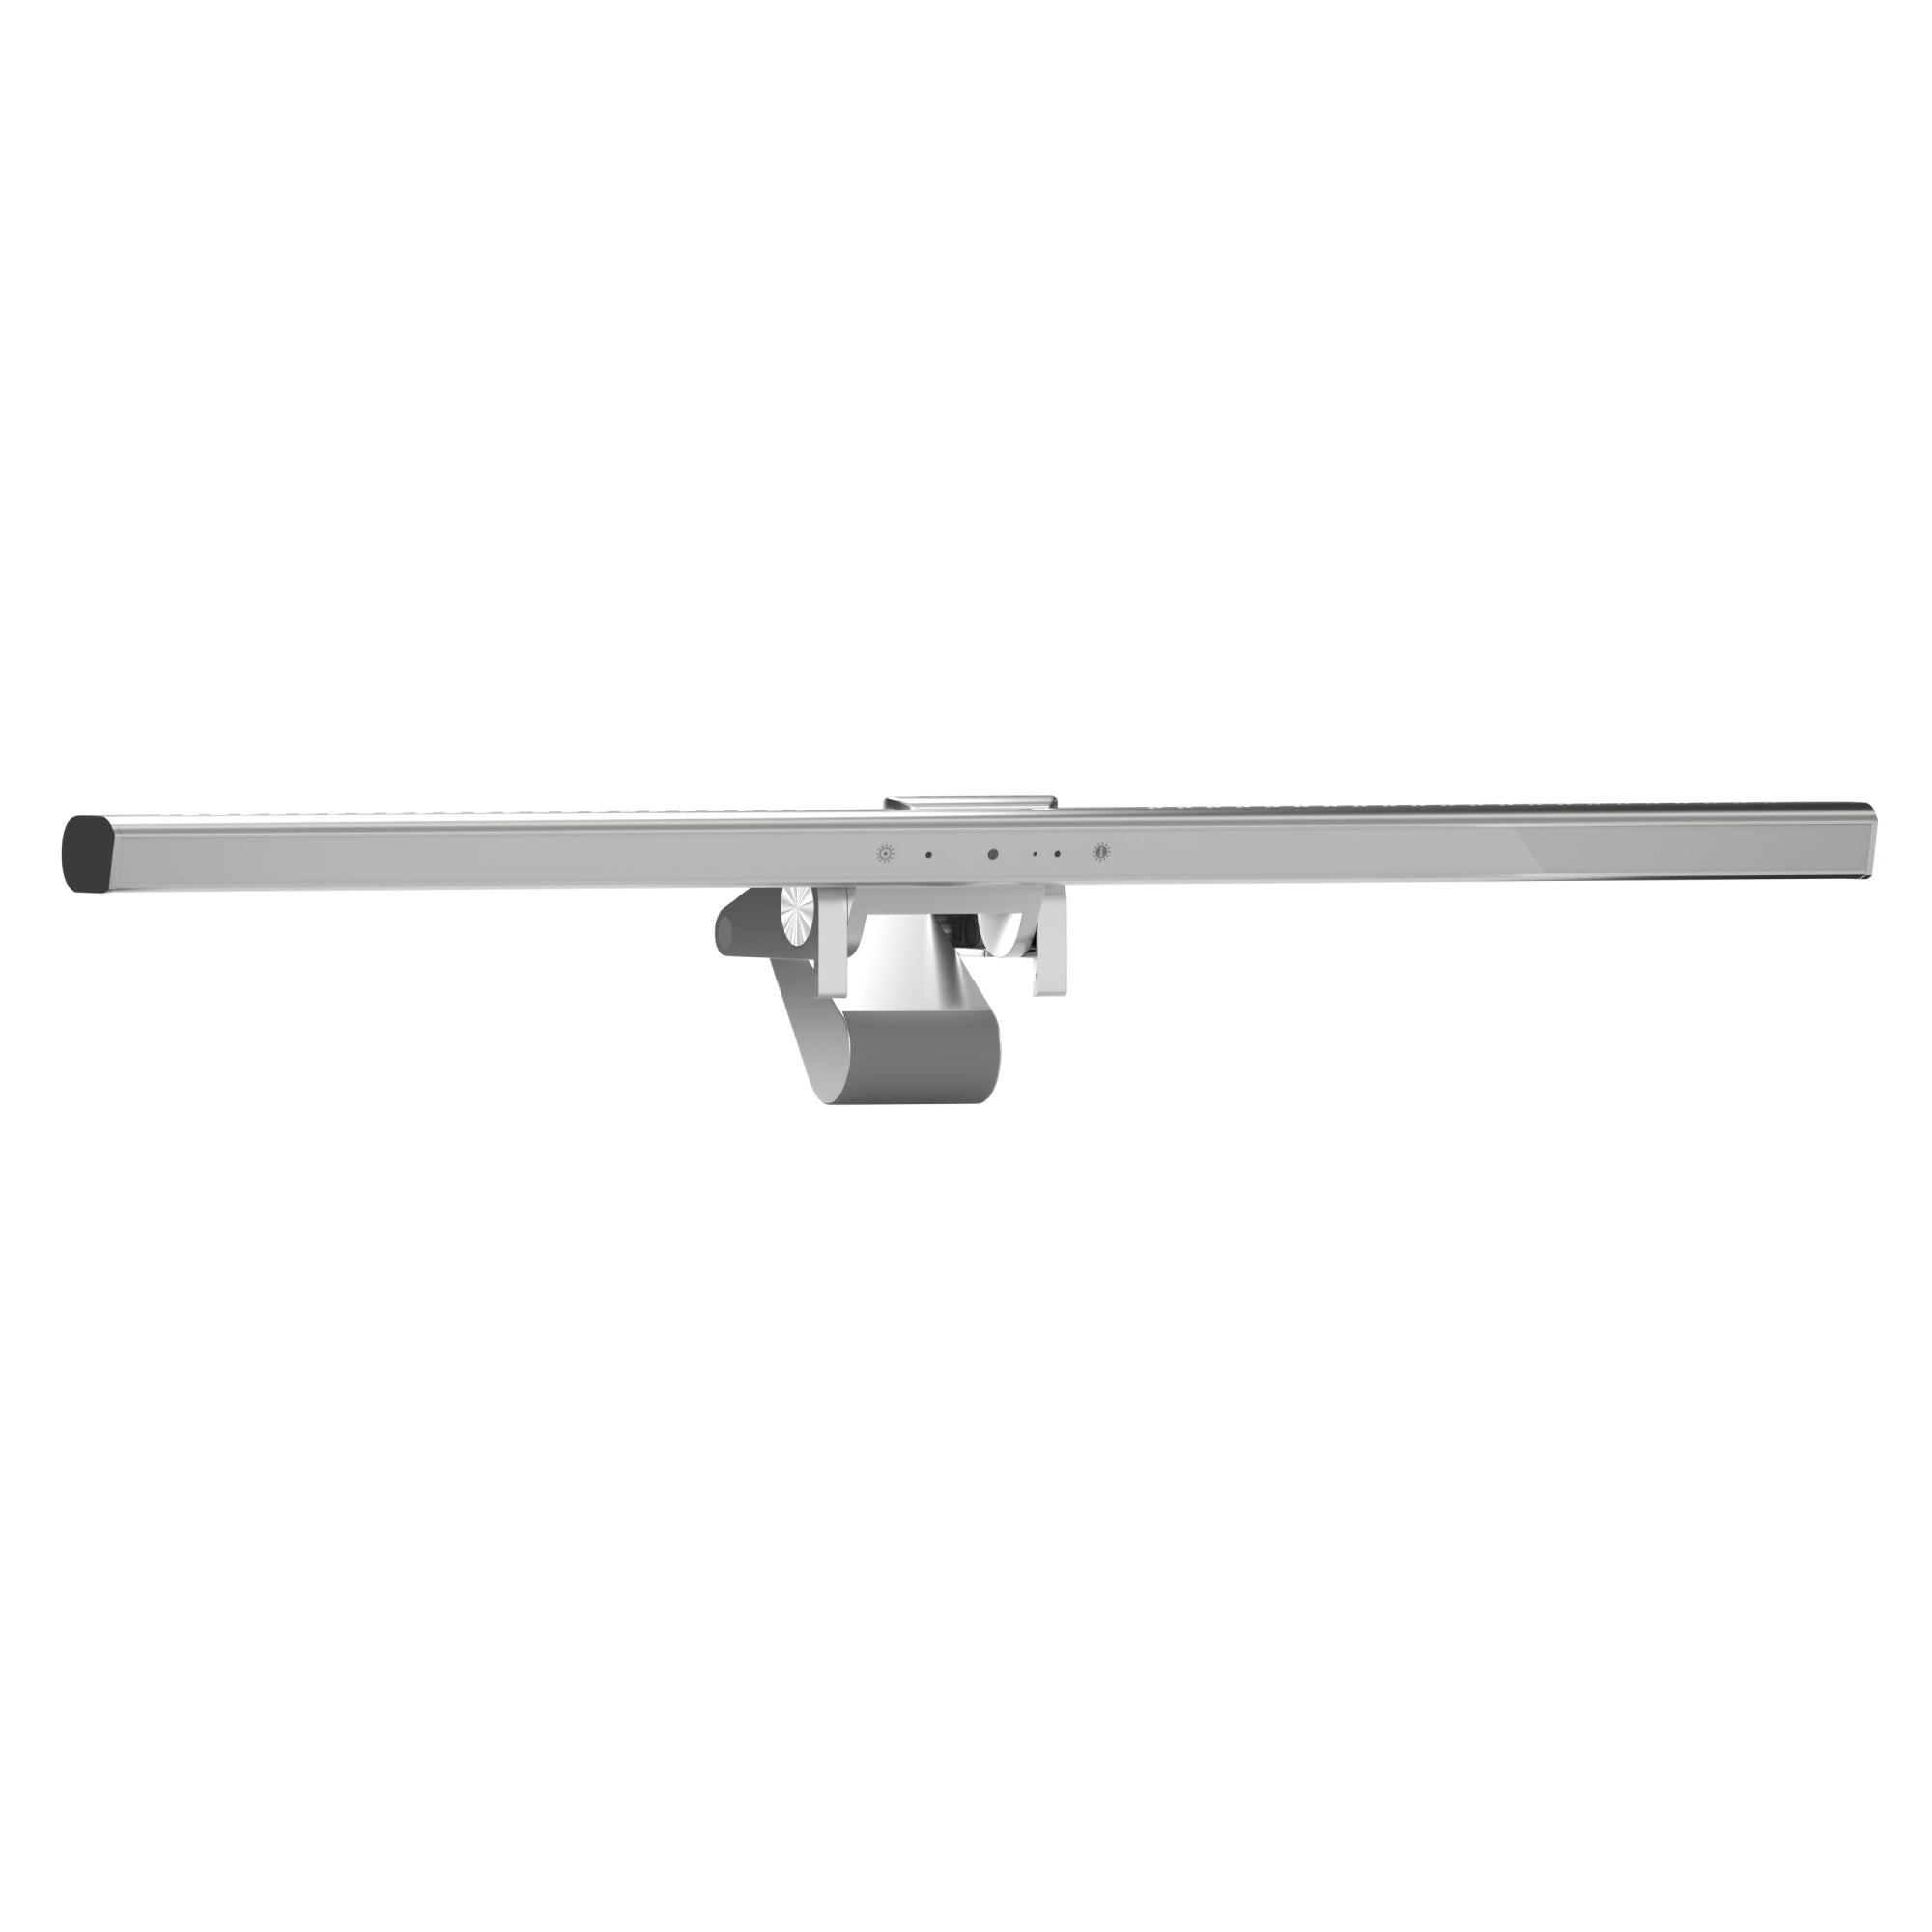
Illuminate USB-C Light Bar with 4K Autofocus Webcam
Based In New Zealand
Free Freight Over $100
Expert Support

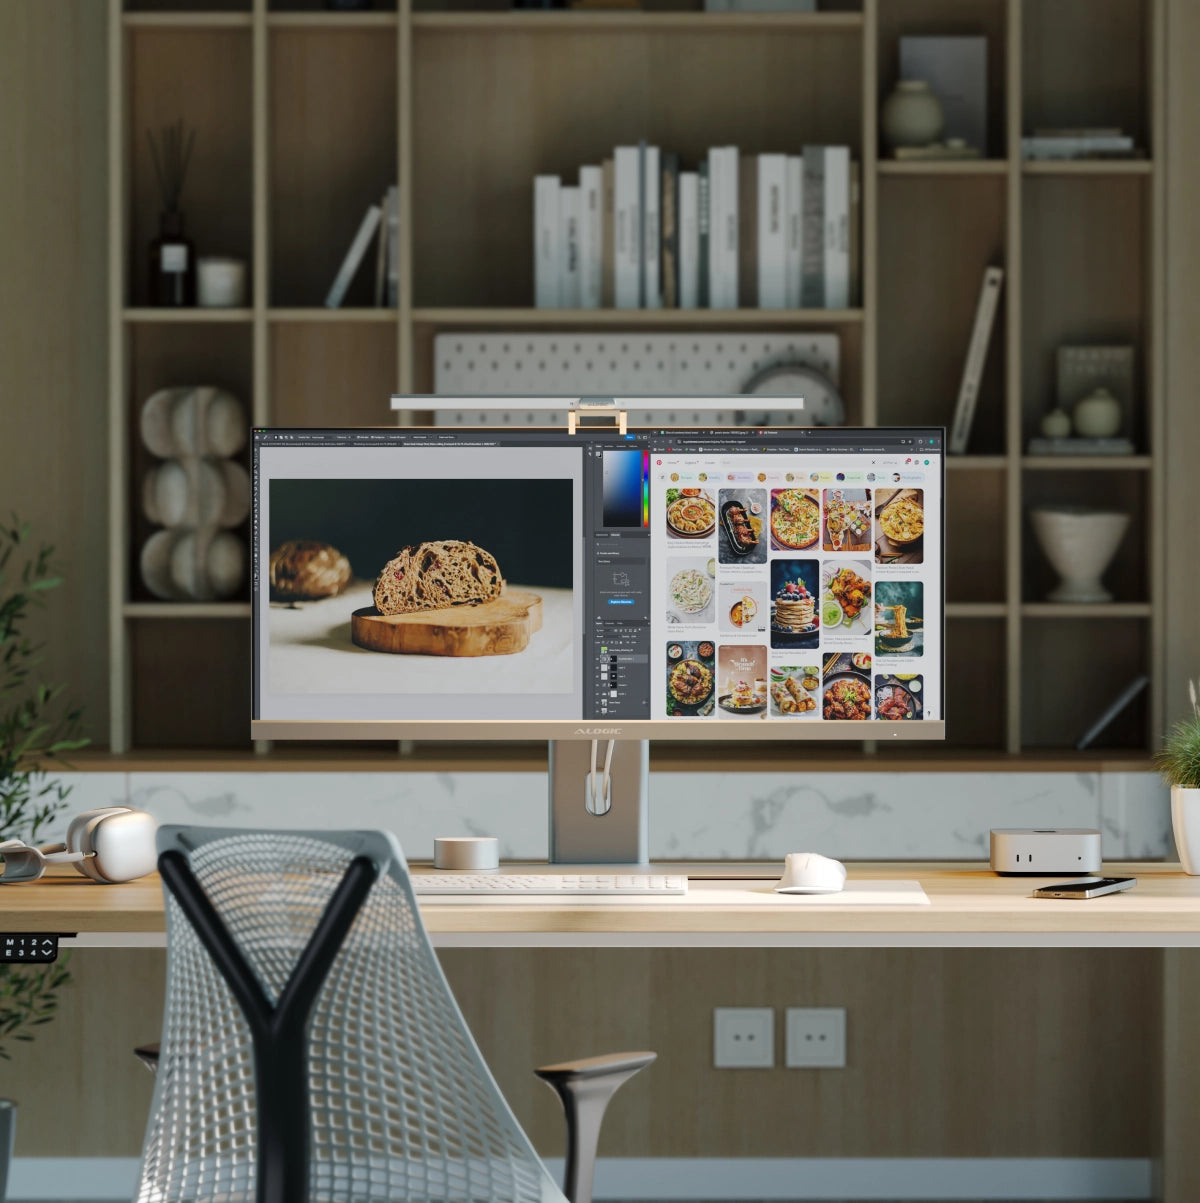
Fully adjustable, Illuminate puts you in control of your workspace with warm or neutral lighting that doesn’t add any unwanted glare to your computer screen.

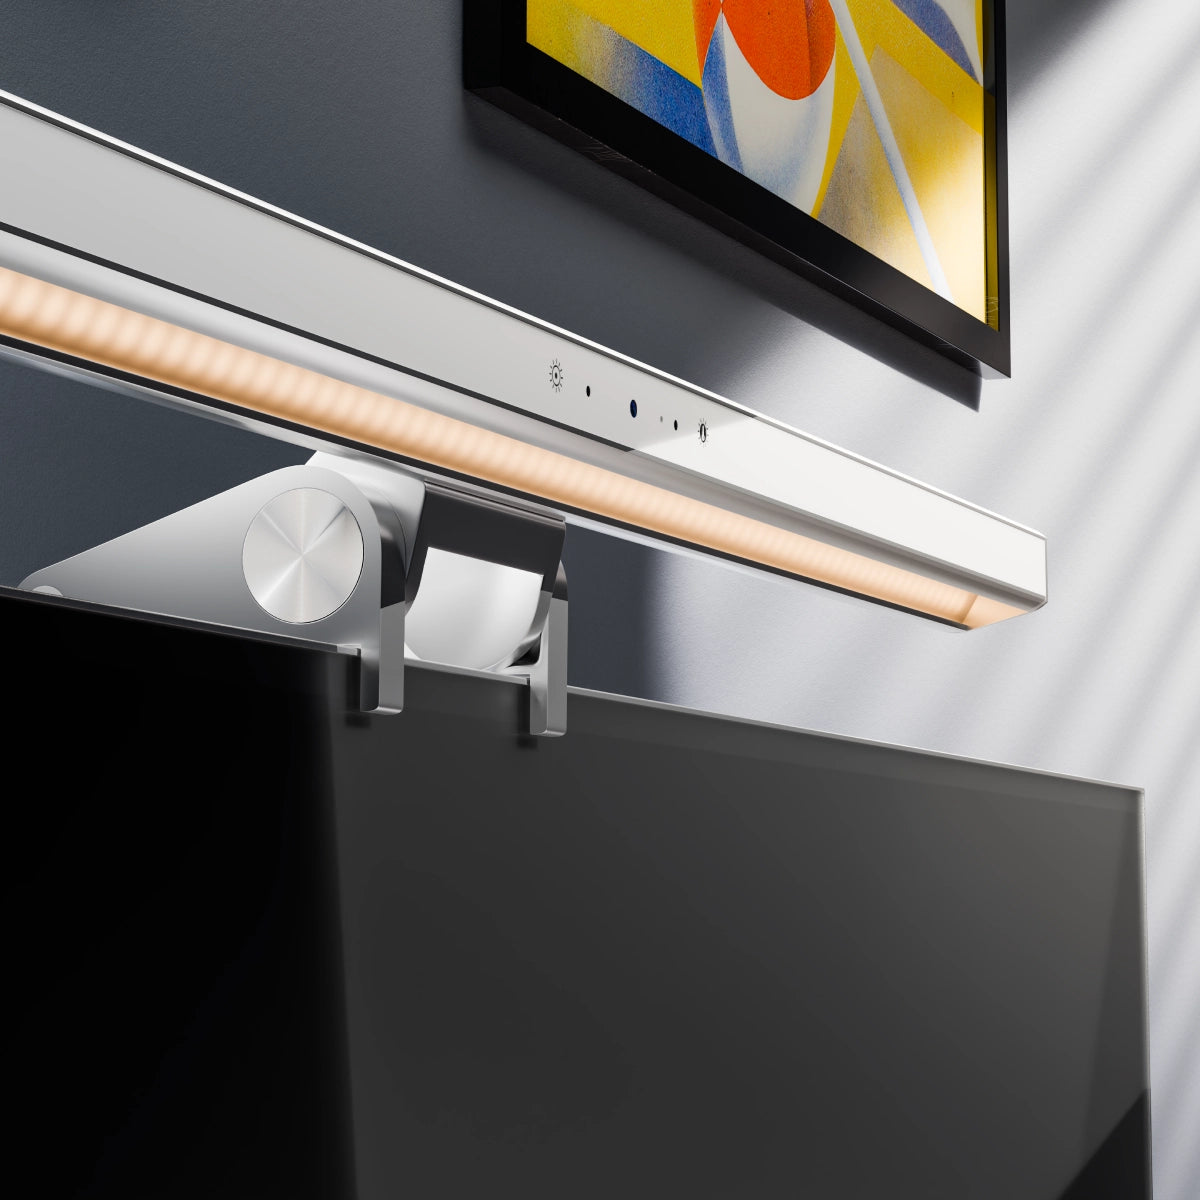
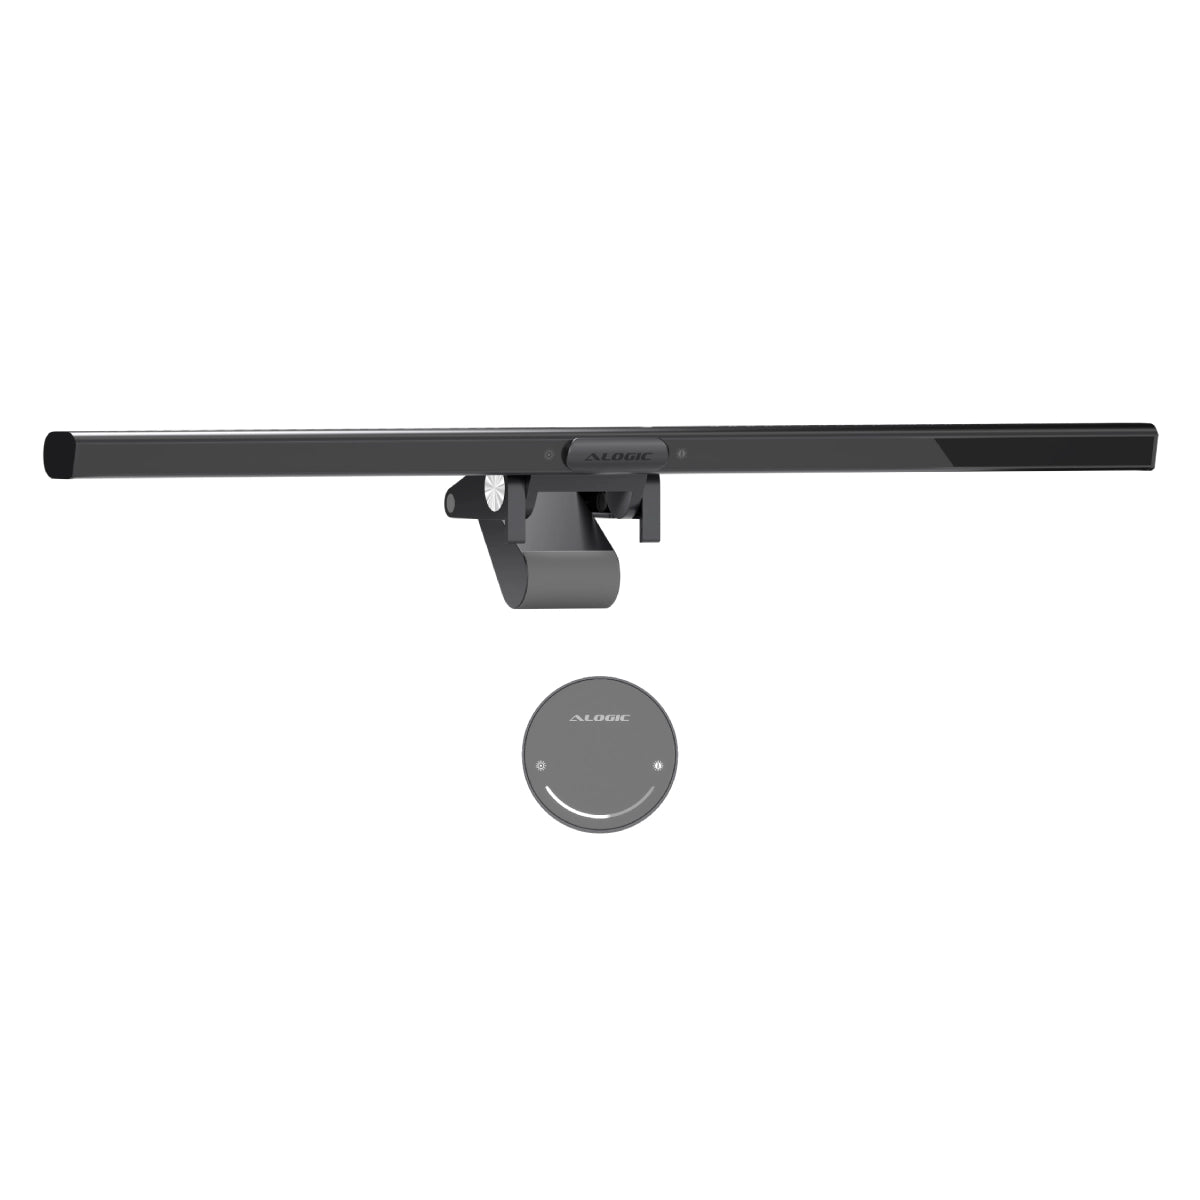
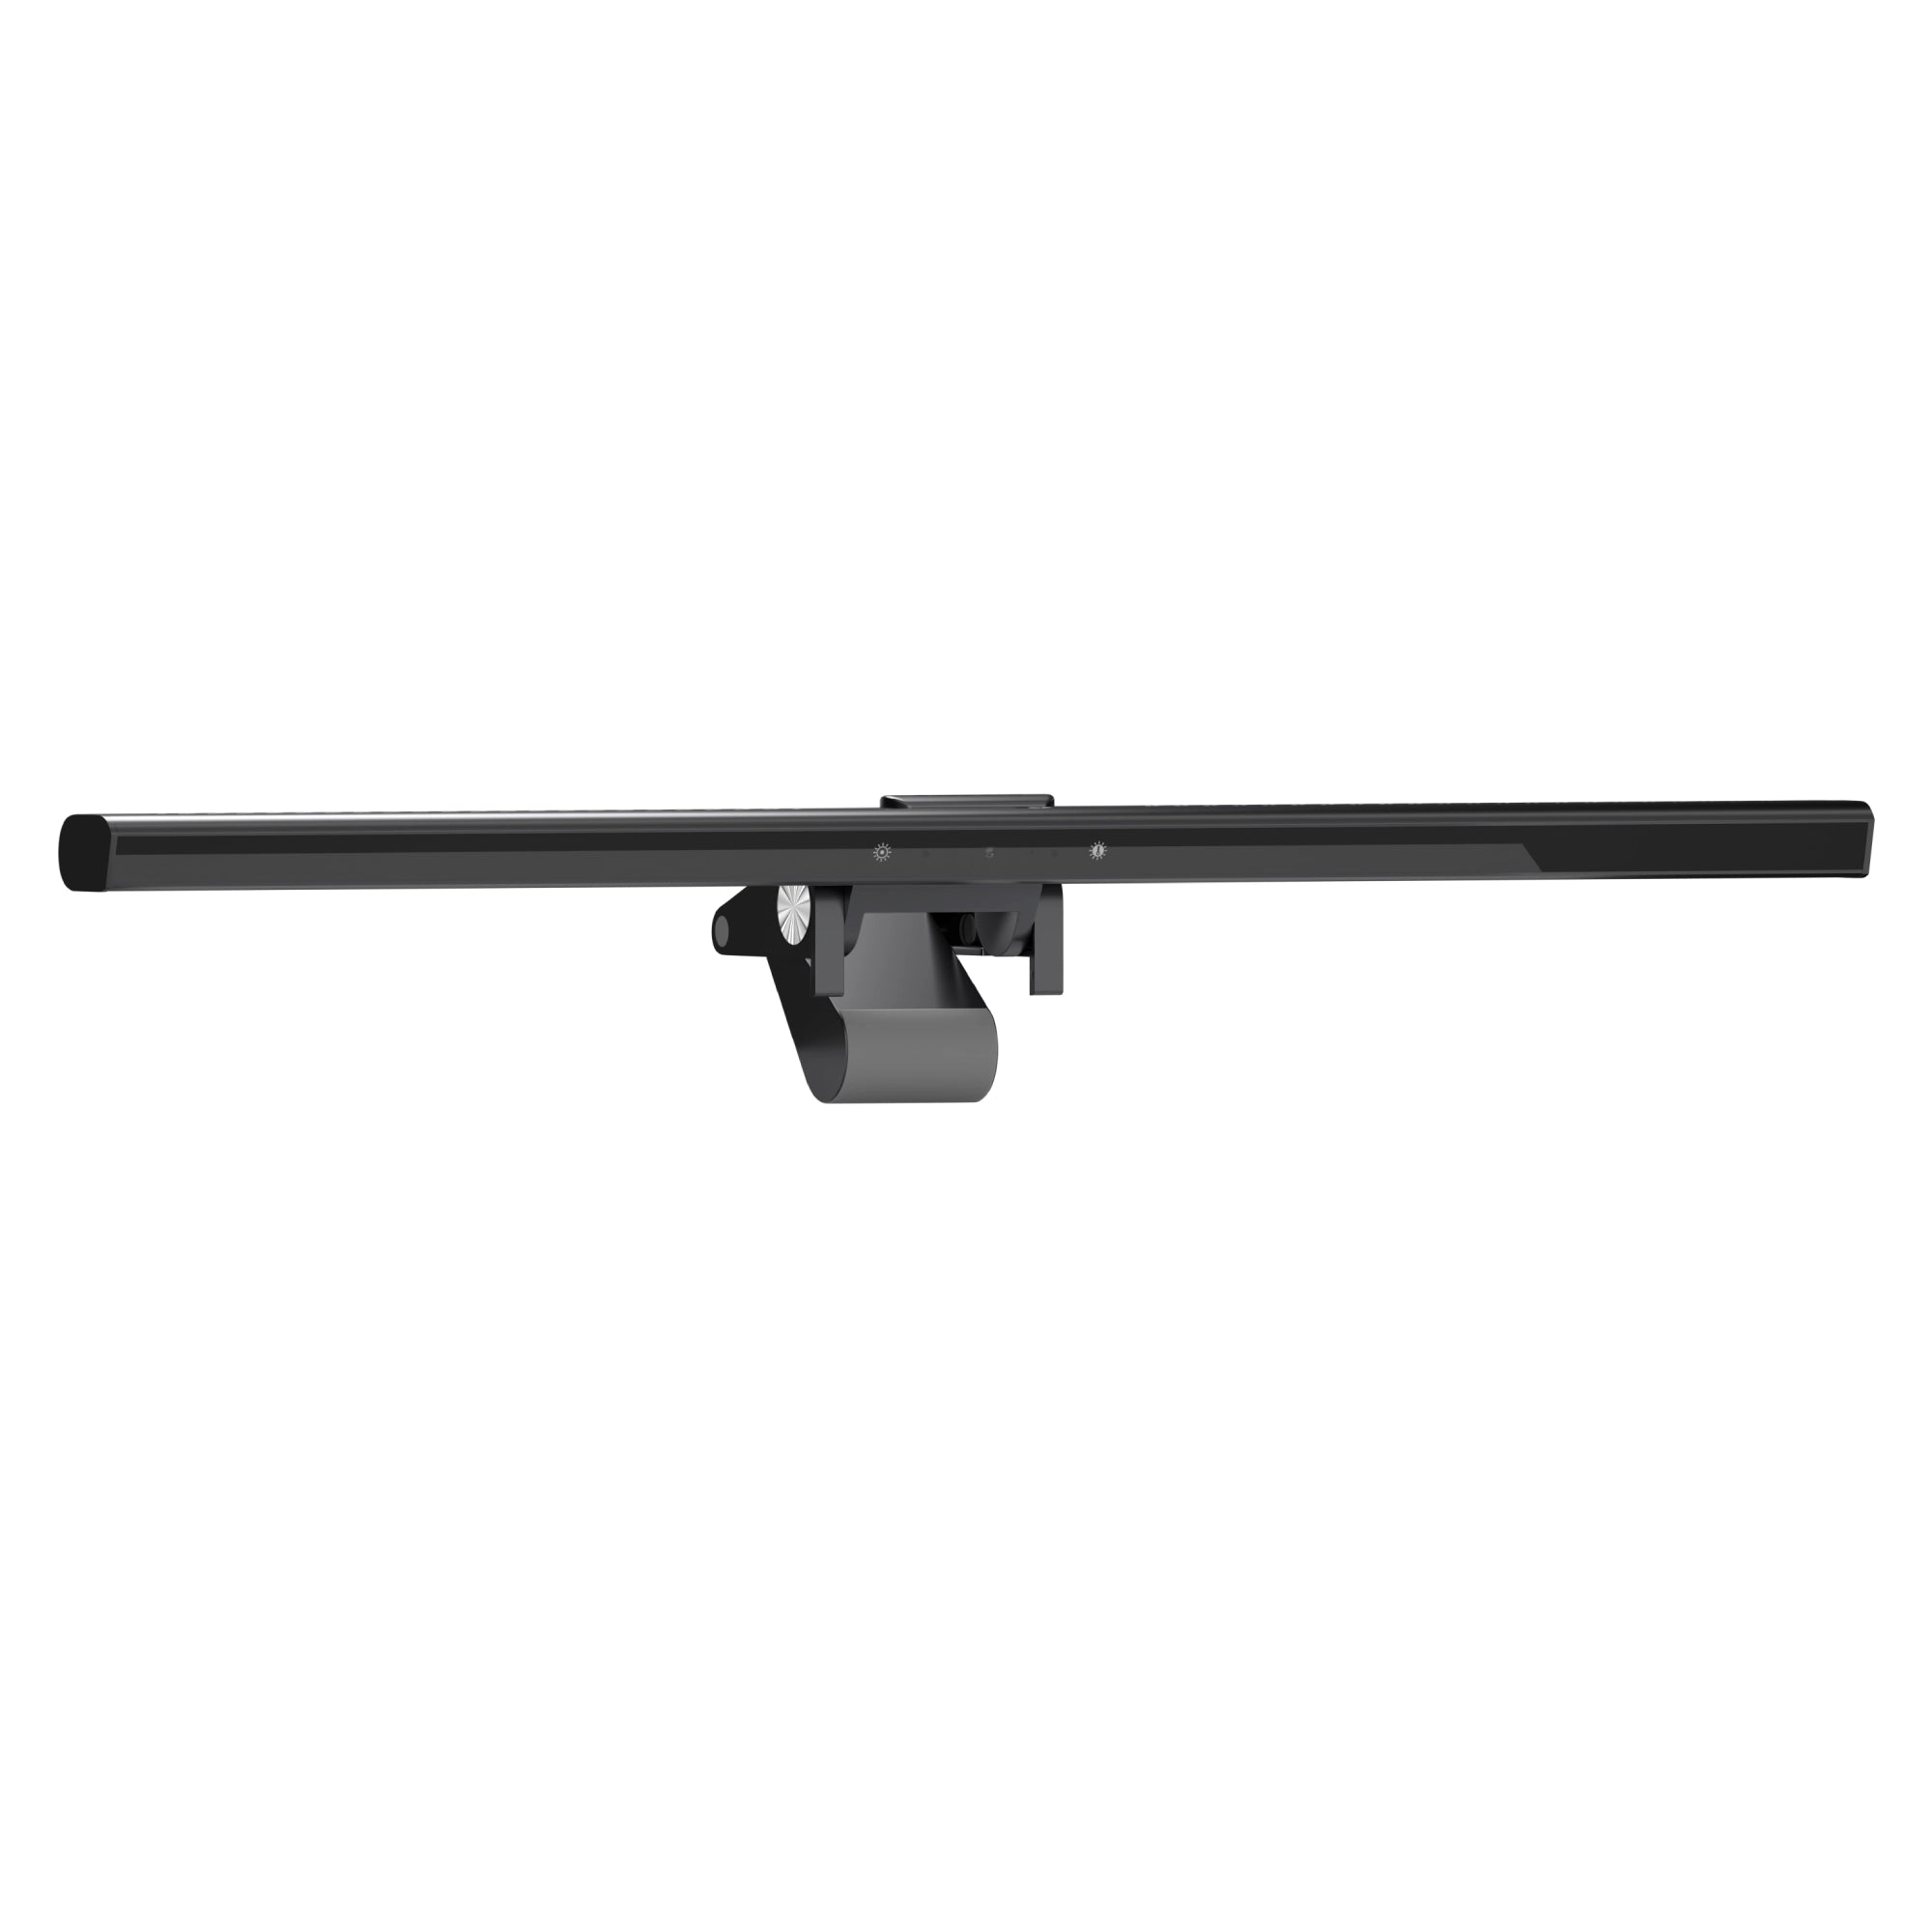
Intuitive touch controls make it quick and easy to adjust Illuminate's brightness and colour temperature.

Swipe to adjust the light with Illuminate's snap-on magnetic remote control dial.

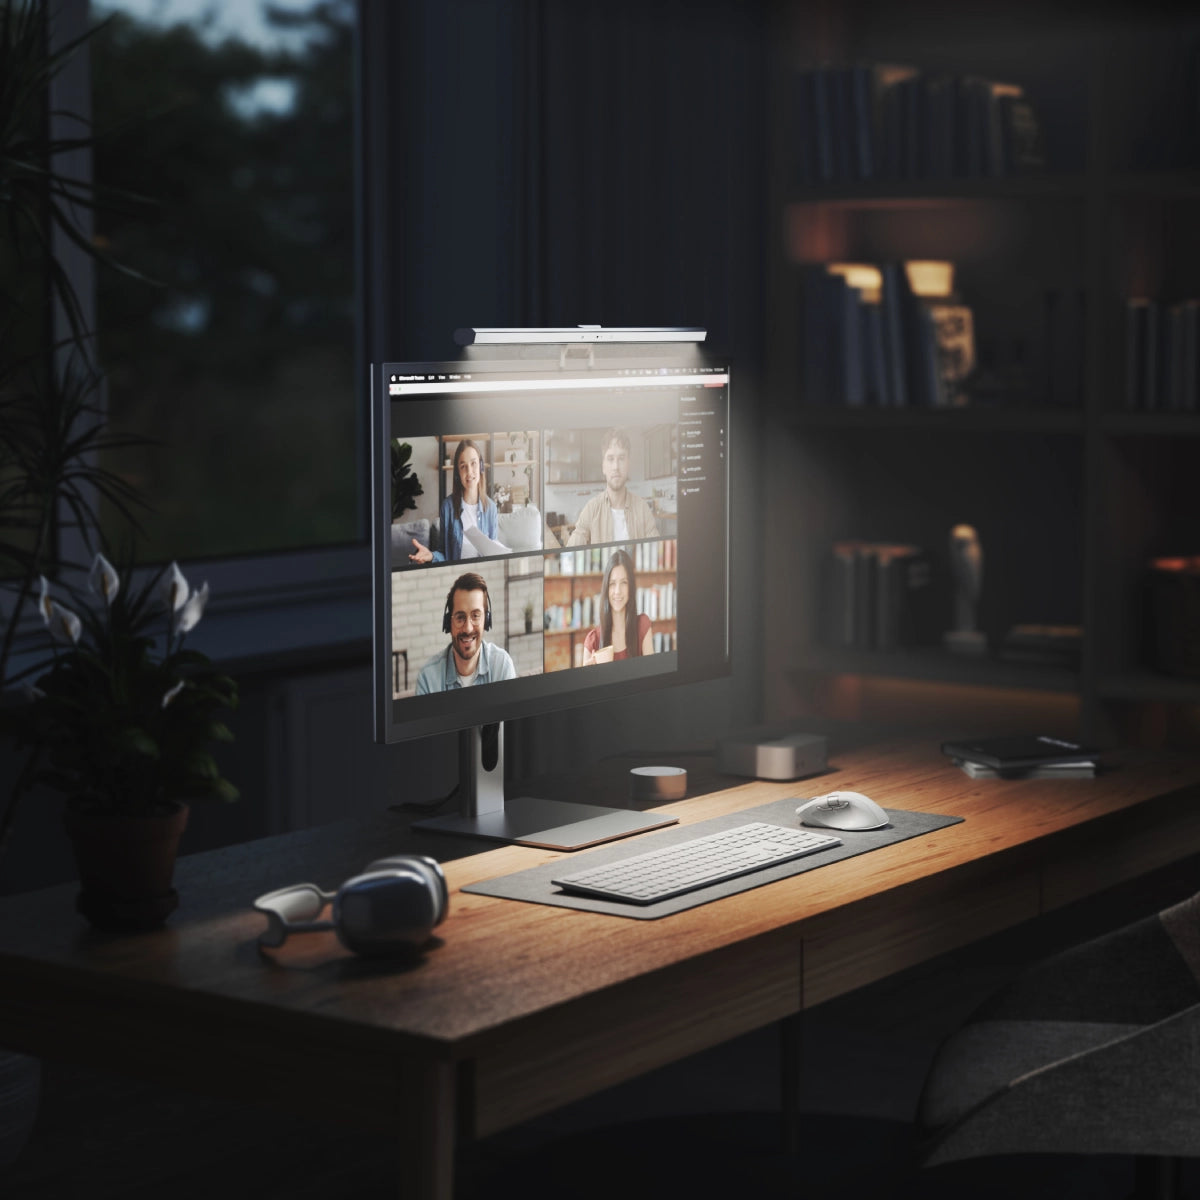
If you're still using your laptop's low-angle, unflattering webcam for video calls, you owe it to yourself to try something better. Fully compatible with Mac and Windows, Illuminate's wide-angle 12MP (4K) autofocusing webcam is perfect for meetings, streaming and video recording.
When your call is over, just snap-on Illuminate's magnetic privacy cover over the webcam for peace of mind. Additionally, Illuminate's bright status LED makes it easy to tell when you're sharing.

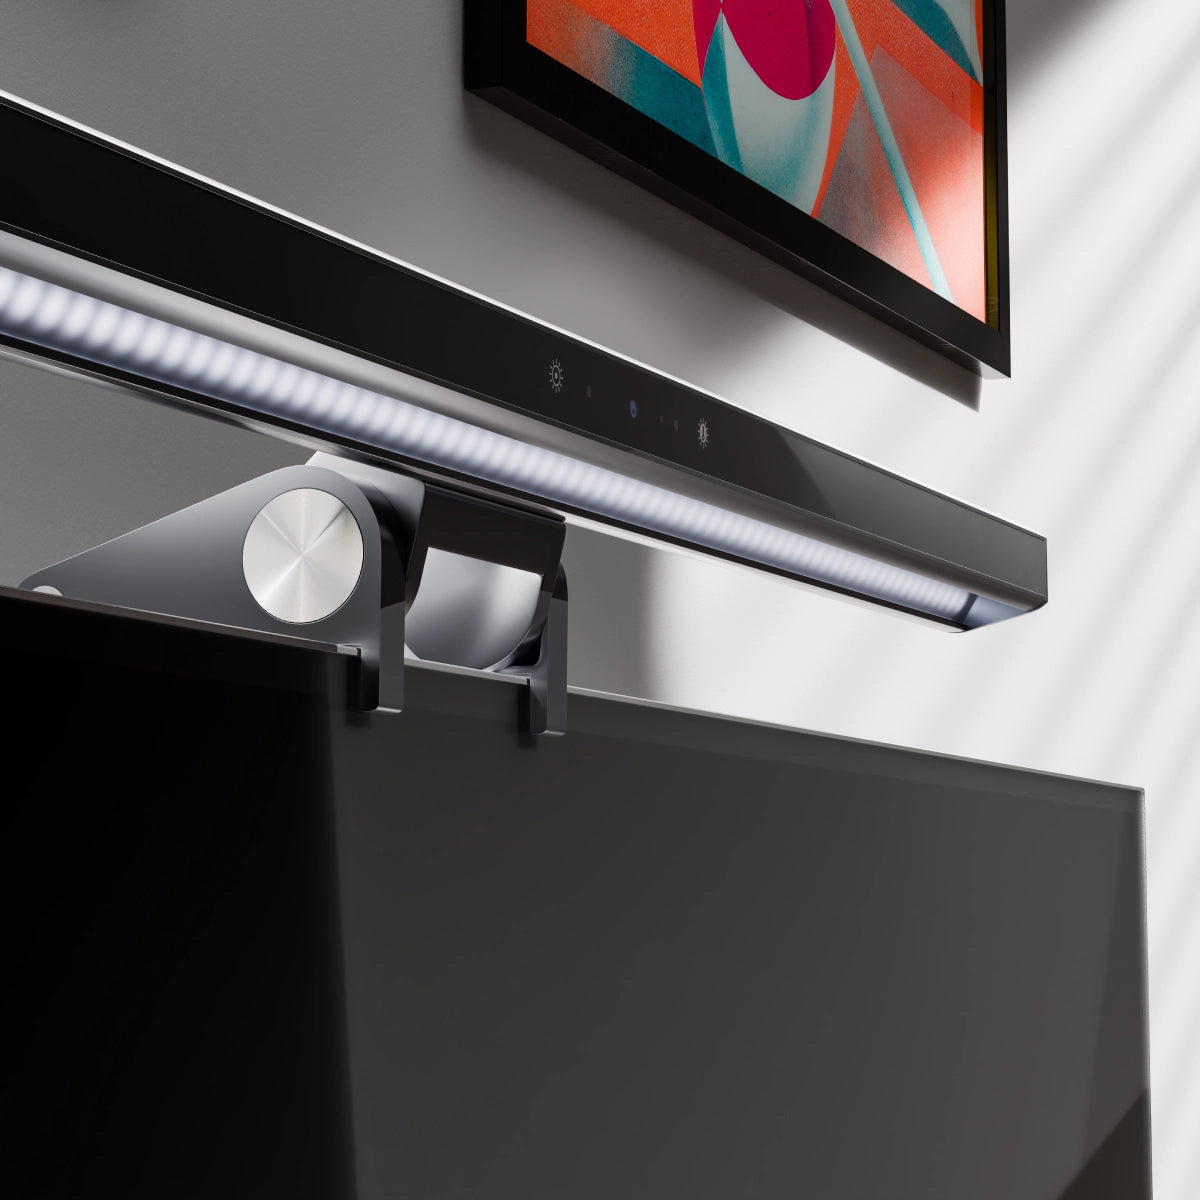
Illuminate's flexible mount allows for tilting to angle the camera or light.

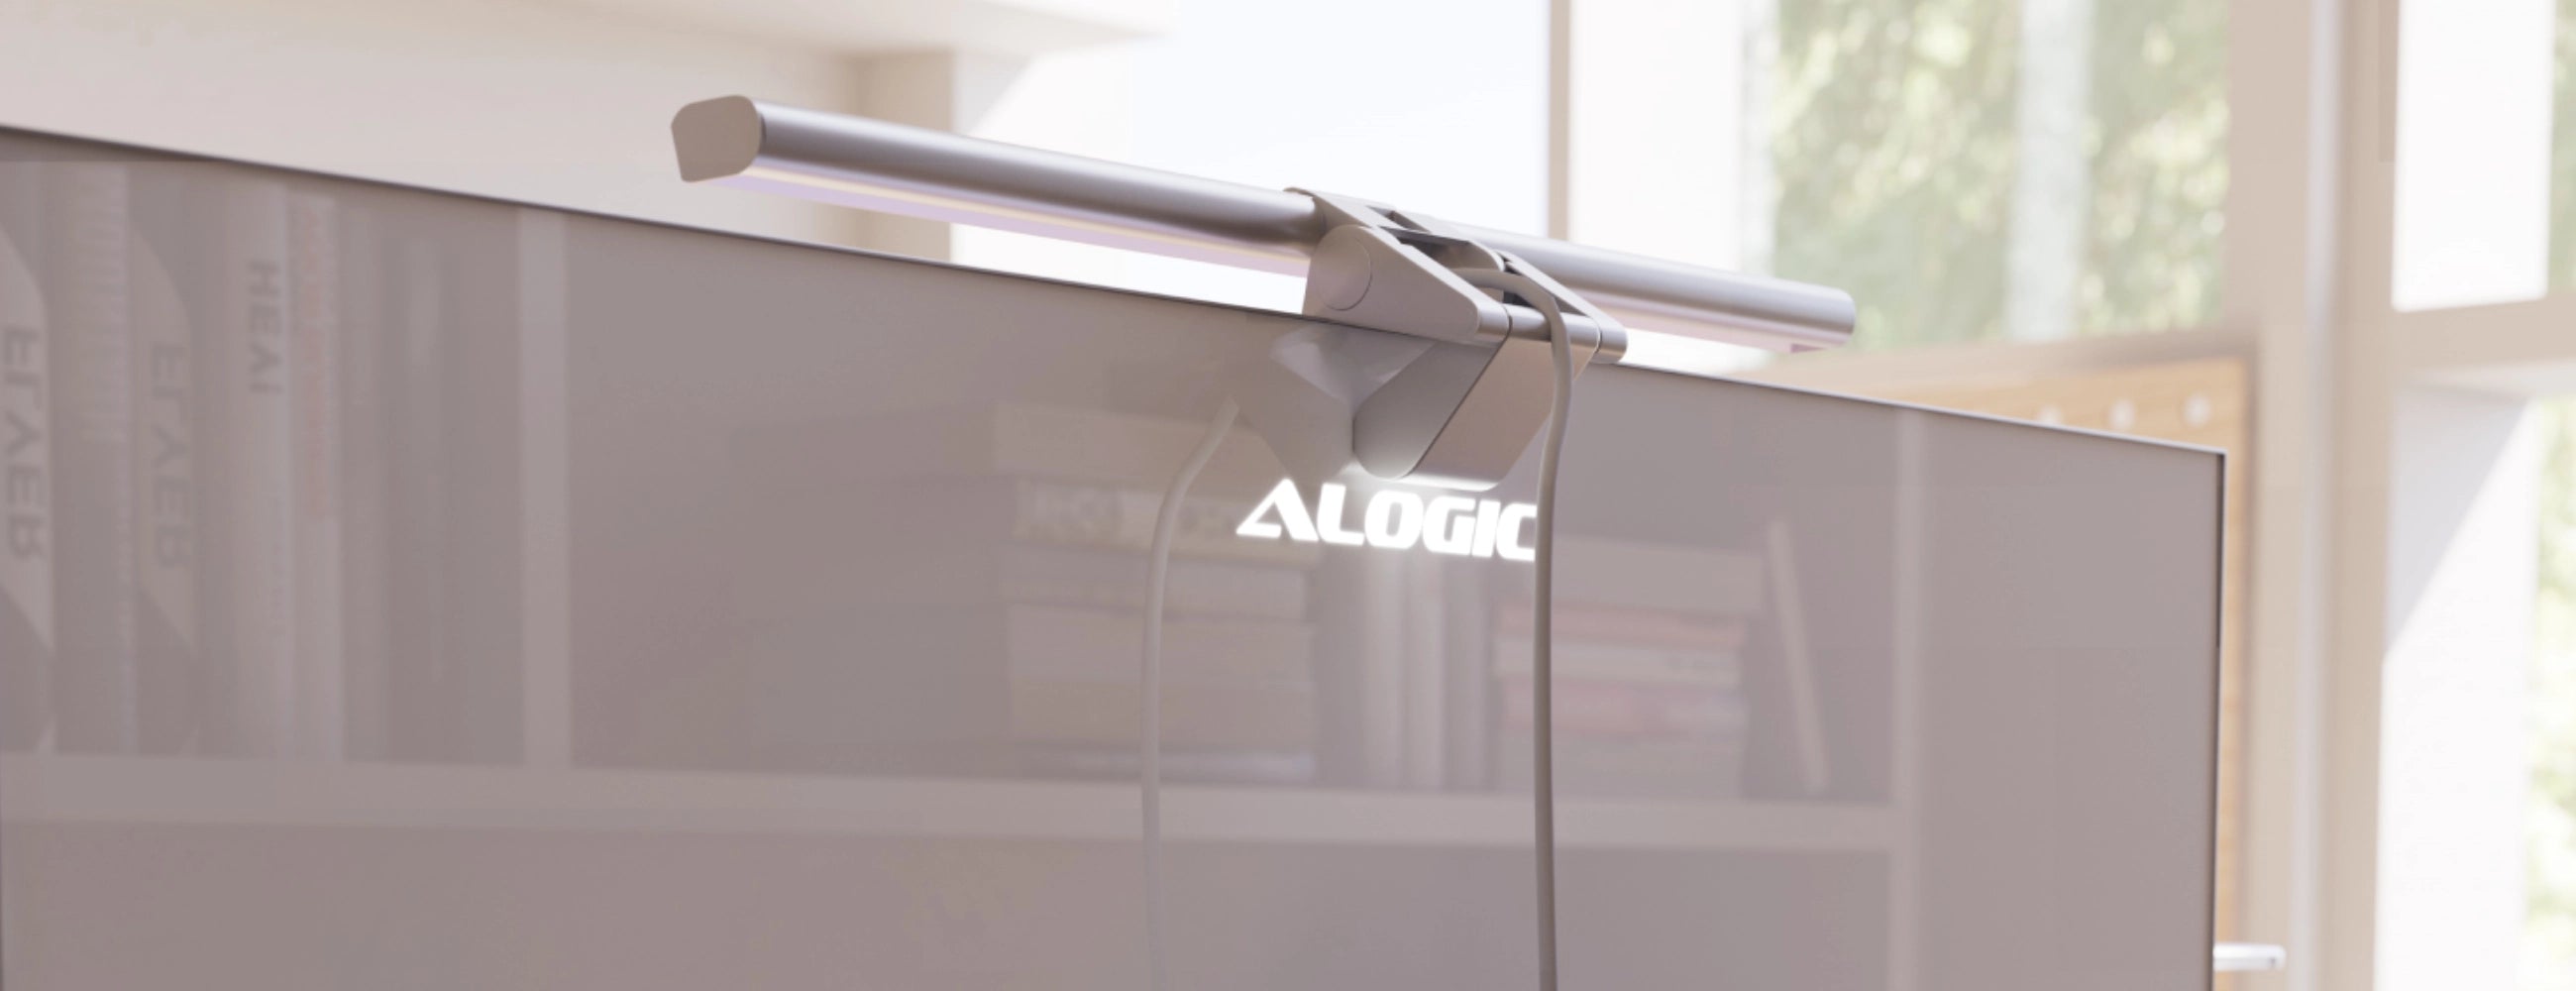
Just unfold the mount, place it on your monitor, and push to secure.

Ensures that Illuminate stays in place, without scratching your monitor.

While Illuminate light bars work with any monitors 8-30mm thick, they’re colour matched to our Edge Ultrawide Monitors, providing a perfectly angled 4K webcam powered via Edge’s USB-C ports.
Simply connect Illuminate to your computer or monitor's USB-C port and it's good to go.


General
Illuminate has a 12MP webcam sensor, which roughly corresponds to a 4K resolution (4000x3000).
It outputs the following resolutions and framerates at 16:9 aspect ratio: 4k 30 FPS, 1080p 60 FPS, 1080p 30 FPS, 720p 60 FPS
Illuminate’s light bar can be adjusted between a warm 2,800K and a more neutral 6,500K.
Using the remote control, you can dial into your preferred temperature between these values, while by tapping the Colour Temperature button on the lightbar itself, you can quickly switch between three presets: 1. 2,800K (Warm) 2. 4,500K (Balanced) 3. 6,500K (Neutral)
Absolutely.
Illuminate can be used with any monitor that is between 8-30mm thick at the top and has an available USB-A or USB-C port that can supply 5V (5V/1A) of power and supports USB 2.0 (or newer) data transfer.
Illuminate can be used with either a USB-A or USB-C port, as long as it supports 5V (5V/1A) of power and USB 2.0 (or newer) data transfer.
We recommend consulting the product’s user manual, or the manufacturer’s website to make sure your port supports Illuminate before purchase.
Illuminate does not include a USB-C to USB-A cable, but is compatible with USB-C to USB-A adapters (such as the Ultra USB-A to USB-C Mini Adapter ) or any USB-C to USB-A cables.
Installation
1. Open the Light Bar’s clamp to allow for fitment over your monitor.
2. Position Illuminate’s Support Feet at the front of your screen and fold the Clamp towards the monitor until the Light Bar is stable. Illuminate supports screens 8-30mm thick.
3. Connect the Light Bar’s USB-C Port to your monitor’s USB accessory ports (with at least 5W power output) or your laptop.
4. Tap the Power Button to switch the light on or off.
1. To adjust the brightness, tap and hold the Power/Brightness Button.
2. To change the colour temperature of the light, tap the Colour Temperature Button.
3. Press to adjust colour temperate between fixed levels 2800k - 4500k - 6500k.
4. Press & hold to ramp colour temperature up/down.
1. Connect the Remote Dial’s USB-C Input to a USB power source to charge it.
2. Tap and hold the Power Button and Mode Button for a second to turn the dial on. The dial will automatically go into standby after 20 seconds of inactivity.
3. Tap the Power Button again to switch the Light Bar on or off.
4. Move your finger across the Adjustment Bar to adjust the Brightness.
5. Tap the Mode Button to switch the dial between colour mode and brightness mode. The Adjustment Bar will now change the LED Light from Cool to Warm.
1. Once connected to your computer via USB, Illuminate’s webcam should be automatically available in any application that requires it.
2. Illuminate will auto focus on objects within 30cm-3m of the webcam.
3. For privacy, place the Magnetic Privacy Cover on top of the webcam when not in use.
4. The camera status LED will illuminate when the camera is currently in use.
Troubleshooting
If Illuminate’s webcam looks blurry, or seems to have a blue tint to it, you may not have removed the protective film. Check your webcam – there should be a little tab you can pull off. If there isn’t a tab, look closely at the camera and try rubbing one of the sides to see if there’s still a plastic film – sometimes the pull tab can get stuck inside the camera itself.
If you’re sure there’s no film and your camera remains either blurry or blue-tinted, please get in touch with our support team: support.nz@alogic.co
If Illuminate is turning off when it hits max brightness, this indicates Illuminate is not receiving enough power.
Ensure the port can supply at least 5W of power – not all laptop or computer monitor ports support this. We recommend consulting the product’s user manual, or the manufacturer’s website.
If Illuminate’s webcam “Alogic Illuminate Webcam” does not appear in the list of connected cameras, ensure the USB port you’ve connected Illuminate to supports USB 2 data.
We recommend consulting the product’s user manual, or the manufacturer’s website to double check the ports support USB 2.0 data transfer.
If your remote dial is unresponsive, tap and hold both ‘buttons’ on the remote for a second to wake it up out of standby mode.
If the remote still doesn’t respond, try leaving it to charge for an hour.
If this does work, please contact support.nz@alogic.co and we’ll help you get things sorted.